When I first discovered how to glaze air dry clay without a kiln, it completely changed my creative life. No fancy studio. No expensive setup.
Just a few tools, a steady hand, and a little patience. Once you master this process, every piece you make feels like magic.
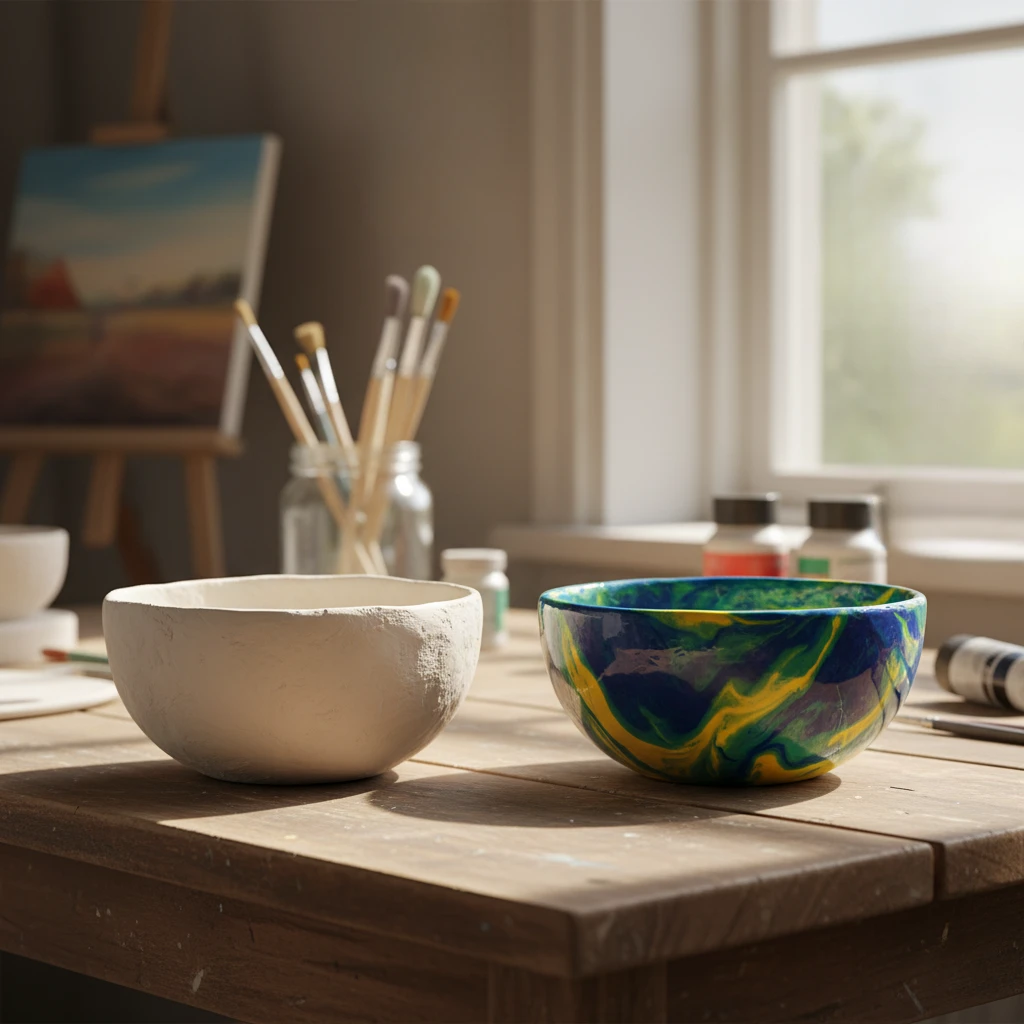
“The right glaze turns simple clay into something timeless.”
What You’ll Learn in This Guide
✓ How to glaze air dry clay without a kiln or special tools
✓ Which glazes truly work (after testing over 20!)
✓ Common mistakes and quick fixes
✓ Budget-friendly DIY glaze recipes
✓ My personal step-by-step glazing process
Why Air Dry Clay Is Every Crafter’s Best Friend
Air dry clay changed the way I see crafting. You don’t need a kiln or studio — just imagination and a bit of workspace. It’s soft, affordable, and beginner-friendly, yet capable of stunning, professional-looking results.
You can create anything — from handmade jewelry to chic decor or faux pottery. If you’re just getting started, Crayola is great for experimenting. But if you want that smooth, sculptor’s finish, DAS clay gives your projects that professional touch.
💡 Money-saving tip: Buy in bulk during school-supply season! I usually stock up in August and save up to 40%.
Why Glazing Matters
Raw clay feels chalky and unfinished — but add glaze, and suddenly, your creation comes alive.
It’s like the final brushstroke in a painting. Glaze makes colors vibrant, protects the surface, and gives your piece that beautiful polished touch.
Think of it like makeup for clay — enhancing what’s already beautiful while sealing it against time.
Step One: Preparing Your Clay (Don’t Rush This!)
Preparation is everything. Early on, I ruined plenty of pieces by skipping this part. Here’s what I learned — take your time here, and the final result will shine.
Drying Time 101
Thin pieces usually dry in about 24 hours. Thicker ones — like bowls or figurines — can take up to three days. Test dryness by touching the thickest part: if it feels cool, it’s not ready.
| Project Type | Drying Time | My Best Tip |
|---|---|---|
| Jewelry | 24 hours | Flip halfway through |
| Bowls | 48 hours | Let them dry upside down |
| Sculptures | 72+ hours | Use a fan for circulation |
Smoothing the Surface
Once dry, use 220-grit sandpaper in gentle circles — don’t rush it. Afterward, wipe away all dust with a slightly damp cloth. Even a tiny speck of dust will show through your glaze later.
🪞 Pro tip: Unused makeup brushes are perfect for cleaning tiny details!
Choosing the Right Glaze

Not all glazes are made equal — and finding the perfect one took me a lot of trial and error. Here are the winners that actually work for air dry clay.
| Product | Why I Love It | Downside | Cost |
|---|---|---|---|
| Mod Podge (Dishwasher Safe) | Versatile and glossy | Can stay tacky in humidity | $6–8 |
| Water-Based Polyurethane | Extremely durable | Strong smell | $10–15 |
| Clear Acrylic Spray | Super quick | Overspray can be messy | $8–10 |
| Epoxy Resin | Stunning glass-like finish | Requires precision | $30+ |
💬 My personal pick? Mod Podge. It’s beginner-friendly and gives that clean, professional shine.
My Foolproof Glazing Method
Here’s how I glaze every air dry clay project — simple, reliable, and stunning every time.
You’ll Need:
- Your chosen glaze
- Soft synthetic brushes
- Paper plates or plastic cups
- Paper towels
- Something to elevate your piece (like a jar)
- Gloves (optional but helpful)
Step-by-Step:
- Set Up: Work near a window or outdoors. Cover your workspace and elevate your clay.
- Pour & Prep: Pour glaze into a paper plate — never dip directly from the bottle.
- Brush: Load your brush lightly. Apply thin, even coats.
- Layer: Wait 30–60 minutes between coats. Test a hidden spot — if it’s tacky, wait longer.
- Perfect Finish: Apply 2–3 coats total, sanding gently between layers with 400-grit paper.
🫧 Secret hack: Add one drop of dish soap to your glaze — it eliminates bubbles completely.
Extra Protection: The Triple-Seal Method
Want your creations to last years? Use my triple-seal technique for museum-level durability:
- Seal first with diluted Mod Podge (acts as a primer).
- Apply your glaze of choice.
- Finish with a light spray sealer coat for extra shine and waterproofing.
| Method | Protection Level | Time | Difficulty |
|---|---|---|---|
| Basic Seal | Good | 30 mins | Easy |
| Triple-Seal | Excellent | 2 hours | Medium |
| Resin Coat | Superior | 24+ hours | Hard |
When using spray sealers, keep your can moving — never spray in one spot. Multiple light coats beat one heavy one every time.
DIY Glazes You Can Make at Home
Who says you have to buy glaze? These homemade versions work surprisingly well — and they’re budget-friendly.
1. The School Glue Glaze
Mix equal parts white glue and water, add a drop of dish soap, and stir well. Want color? Mix in a bit of acrylic paint — just a drop or two!
2. My Fancy Homemade Mix
Blend 2 parts Mod Podge, 1 part water, and a teaspoon of clear nail polish. It gives a brilliant shine that rivals store-bought glazes.
✨ Optional: Add a pinch of ultra-fine glitter for a subtle sparkle.
3. Natural Alternatives
- Beeswax: Rub on, let cool, and buff for a soft matte look.
- Shellac: For a rich, old-world finish. It takes practice but creates breathtaking depth.
Top Glaze Products Worth Trying
If you’d rather buy than DIY, here’s what I actually recommend (and why).
Budget Favorites (Under $10)
- Mod Podge Matte ($6–8): Easy, reliable, and beginner-approved.
- Krylon Clear Spray ($8–10): Fast-drying and comes in matte, satin, or gloss.
- DecoArt DuraClear ($7–9): Never yellows — great for white clay.
Professional Choices
- Golden MSA Varnish ($15–20): UV protection, perfect for long-lasting pieces.
- Liquitex Professional ($18–25): Self-leveling for flawless coverage.
- ArtResin Epoxy ($30–50): Crystal-clear and food-safe for advanced projects.
Common Glazing Problems (And How to Fix Them)
Mistakes happen — here’s how to recover fast.
Cloudy Finish: Too thick or too humid. Sand lightly, reapply thinner coats, or use a spray sealer to clear it.
Visible Brush Strokes: Use foam brushes or thinner glaze. Brush one direction, then lightly cross-stroke.
Glaze Won’t Stick: Oil or dust might be the culprit — wipe with rubbing alcohol and sand lightly before reapplying.
🆘 Quick Fixes:
- Bubbles → Pop with a toothpick while wet
- Drips → Sand after drying
- Uneven shine → Add another thin coat
- Still tacky? Move to a warmer, dry spot
Show Off Your Finished Pieces
Once your creations are dry, display them proudly!
For photos: Use natural light near a window and a simple background. Let your glaze sparkle.
At home: Floating shelves make a lovely gallery wall. Group by color or shape for visual flow.
For storage: Wrap in acid-free tissue and keep in a dry box with silica packets to prevent moisture.
Keeping Them Looking New
Wipe gently with a soft microfiber cloth weekly — no harsh cleaners! For deeper cleaning, slightly dampen your cloth, then dry immediately. Reapply spray seal once a year if needed.
Moving or storing? Wrap each piece individually with bubble wrap — your future self will thank you.
Level-Up Glazing Tricks
When you’re ready to experiment, try these artistic touches:
Mixing Finishes
Use matte glaze for the base and glossy glaze for highlights. This contrast makes your work look professional and draws the eye to details.
Creating a Crackle Effect
Apply crackle medium between your paint and glaze. As it dries, the cracks reveal the base color for a beautiful vintage effect.
💡 Rub gold wax into the cracks for a stunning antique look.
Your Glazing Journey Starts Here
Glazing air dry clay doesn’t need to be complicated. With a few tools and a little practice, you’ll be amazed at what you can create. Start simple, stay patient, and enjoy the process.
Every crafter starts as a beginner — what matters is you keep creating.
Keep experimenting, take notes, and share your journey with the community. Your next masterpiece is already waiting in your hands.
Quick Glaze Reference Sheet
- Drying Time: 72+ hours
- Sandpaper: 220 then 400 grit
- Coats: 2–3 thin layers
- Spray Distance: 8–10 inches
- Curing Time: 24–48 hours
So grab your glaze, a brush, and that half-finished clay project — and give it the finish it deserves. 🌿
Pin this guide and share it with a fellow crafter — they’ll love you for it.