A facial isn’t just about glowing skin — it’s a moment to slow down, breathe, and give yourself the kind of care you deserve. While visiting a spa is a treat, you can create a luxurious, results-driven facial right in your own bathroom with the right steps and products. Not only is it budget-friendly, but it also lets you customize each step to suit your skin’s unique needs.
With the right approach, an at-home facial can help you deeply cleanse, hydrate, and rejuvenate your complexion — and give you that same post-spa glow. Whether your skin feels dull, congested, dry, or just in need of some TLC, this guide will walk you through the entire process.
Here are nine simple yet effective steps to create your own spa-like facial experience at home.
1. Start with a Gentle Cleanse
The first step in any facial is cleansing away makeup, dirt, and excess oil. Even if you’ve been makeup-free all day, your skin accumulates impurities from the environment, sweat, and natural oils. A clean base ensures the next steps in your facial work more effectively.
Choose a gentle cleanser that matches your skin type. For dry or sensitive skin, opt for a cream or milk cleanser that won’t strip away natural moisture. For oily or combination skin, a gel or foaming cleanser can help remove excess oil without leaving your skin feeling tight. Always use lukewarm water — hot water can dry out the skin, and cold water won’t dissolve oil properly.
Massage the cleanser into your skin for about 60 seconds using small, circular motions. This boosts circulation, helps loosen debris, and gives your skin a fresh, revived look. Rinse thoroughly and pat dry with a soft towel.
2. Exfoliate for a Smooth Base
Exfoliation removes the layer of dead skin cells that can make your complexion look dull and uneven. This step also allows serums and moisturizers to penetrate more effectively. You can choose between physical exfoliants (scrubs) or chemical exfoliants (AHAs, BHAs, or enzymes) depending on your skin’s sensitivity.
If you’re using a scrub, pick one with fine, gentle particles to avoid microtears in the skin. For a chemical exfoliant, look for glycolic acid, lactic acid, or salicylic acid formulas — but always follow the instructions carefully, especially if you’re new to acids.
Limit exfoliation to once or twice a week, even during at-home facials. Over-exfoliating can cause irritation, redness, and dryness. After exfoliating, rinse well and lightly pat your skin dry. You should immediately notice a smoother, softer texture.
3. Steam to Open Pores
Steaming is one of the most relaxing and beneficial parts of a facial. The warm mist helps open up your pores, making it easier to remove dirt, oil, and trapped impurities. It also softens the skin, which prepares it for extractions and masks.
You can use a facial steamer or simply fill a bowl with hot water, place a towel over your head, and lean over the steam for 5–10 minutes. Adding herbs like chamomile or green tea to the water can enhance the soothing benefits.
Be sure to keep a safe distance to avoid burns. If your skin is sensitive or you have conditions like rosacea, limit steaming to a shorter duration or skip it altogether, as heat can trigger redness.
4. Extract Gently (Optional)
Extractions remove blackheads and whiteheads, but they must be done carefully to avoid scarring. If you choose to do extractions at home, make sure your hands are clean and your skin is freshly steamed. Use clean tissues to wrap your fingers and apply gentle pressure around the blemish.
Never force an extraction — if it doesn’t come out easily, leave it for a professional. Aggressive squeezing can cause inflammation, scarring, and even infection.
If you prefer to avoid manual extractions, you can use a pore-clearing mask or a BHA serum instead. These will help dissolve oil and dead skin inside pores over time.
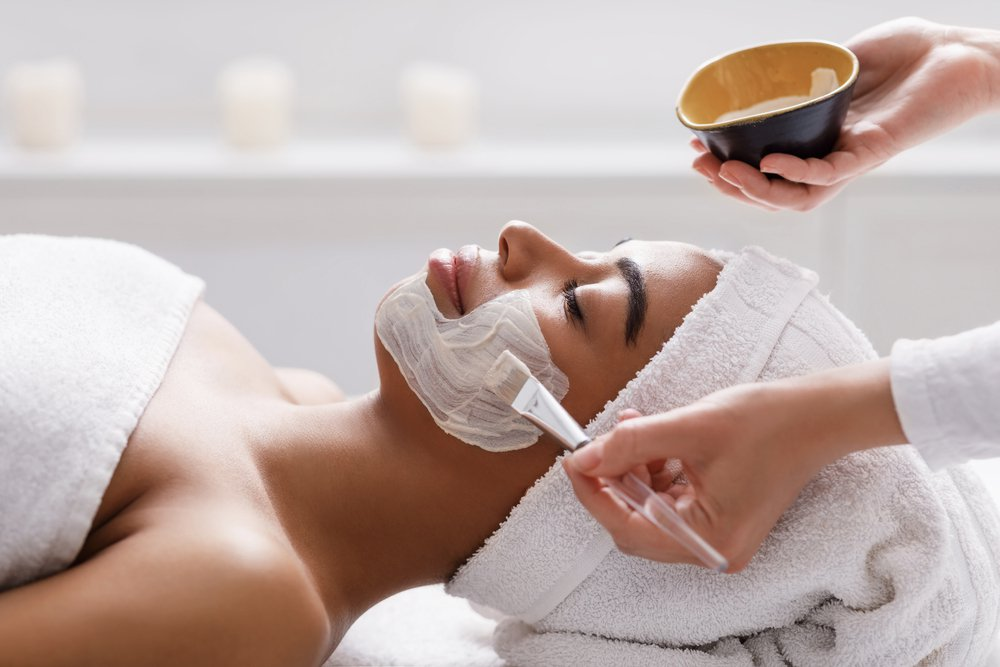
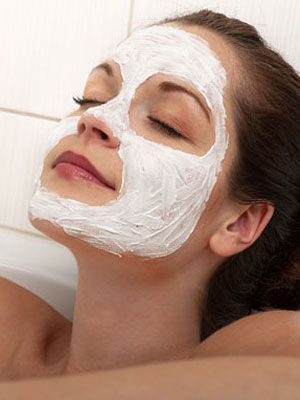
5. Apply a Face Mask
A mask is where you can really tailor your facial to your skin’s needs. Clay masks help draw out impurities for oily and acne-prone skin, while cream or gel masks add hydration for dry or sensitive skin. Sheet masks are also great for delivering concentrated nutrients.
Apply the mask evenly, avoiding the eye area unless the formula is specifically designed for it. Relax for the recommended time — usually 10–20 minutes — to let the active ingredients work.
Once time is up, rinse or remove the mask according to the instructions. Your skin should feel refreshed, balanced, and more radiant.
6. Tone to Restore Balance
Toners help remove any leftover residue from cleansing or masking and restore your skin’s natural pH balance. They also prep the skin for better absorption of serums and moisturizers.
Choose an alcohol-free toner to avoid stripping the skin. Look for soothing ingredients like rose water, chamomile, or aloe vera, or hydrating ingredients like hyaluronic acid.
Apply the toner using a cotton pad or pat it directly into your skin with clean hands. This step leaves your complexion feeling fresh and ready for the next treatments.
7. Apply a Serum
Serums are highly concentrated treatments that target specific skin concerns such as fine lines, dark spots, dehydration, or dullness. Because of their small molecular structure, serums penetrate deeper into the skin than creams.
Pick a serum that addresses your needs — vitamin C for brightening, hyaluronic acid for hydration, niacinamide for texture improvement, or peptides for anti-aging benefits.
Apply a few drops to your fingertips and gently press into your skin. Avoid rubbing too aggressively, as this can irritate the skin. Let the serum absorb fully before moving on.
8. Moisturize to Seal in Hydration
Moisturizing is essential to lock in all the benefits from the previous steps. Even oily skin types need hydration to keep the skin barrier healthy and prevent excess oil production.
Choose a lightweight gel moisturizer for oily skin, a richer cream for dry skin, or a lotion for normal and combination types. At night, you can use a slightly heavier moisturizer for extra nourishment.
Massage the moisturizer gently into your skin, taking time to enjoy the process. A good massage also stimulates blood flow, giving your complexion a healthy glow.
9. Protect with SPF (Daytime Only)
If you’re doing your facial during the day, never skip sunscreen afterward. Treatments like exfoliation and steaming can make your skin more sensitive to UV rays, increasing the risk of sun damage.
Choose a broad-spectrum SPF of at least 30, even if you’re staying indoors, since UV rays can penetrate windows. Look for formulas that suit your skin type — lightweight and matte for oily skin, or hydrating for dry skin.
Apply sunscreen as the final step, and reapply every two hours if you’re going to be outside. This will keep your freshly pampered skin safe and glowing longer.
Conclusion
A DIY at-home facial is more than skincare — it’s an act of self-care that lets you reconnect with yourself. By following these nine steps, you can cleanse, nourish, and protect your skin without leaving your home.
With consistent care, your skin will not only look better but also feel healthier and stronger over time. Light some candles, put on your favorite playlist, and turn your skincare routine into a mini spa retreat.